
Strawberry & Hibiscus Jam - with pectin
This delicious jam is sweet but tart at the same time. The hibiscus highlights and enhances the flavour of the strawberries. Perfect for toast, scones, or even add on top of ice-cream!
How did this recipe come to be?
Somehow I had never made jam before! I saw a recipe where Hibiscus and Strawberry were combined to make a jam, and since we have lots of Hibiscus options available, I just had to have a play in the kitchen.
The original recipe I saw did not use Pectin, it was tricky to follow, with a long and involved process before the jam would be ready to enjoy, and it may not even set. I really wanted something that would be easy to make, and less likely to fail.
I looked into a few recipes online, and lots of them stated they were 'Pectin free', as in some places it can be a hard ingredient to find. These pectin free recipes had to use more sugar, and the fail rates seemed to be fairly high. The recipes I encountered that used Pectin had varying success with reducing sugar, were much easier to make, and more likely to succeed in the gelling process.
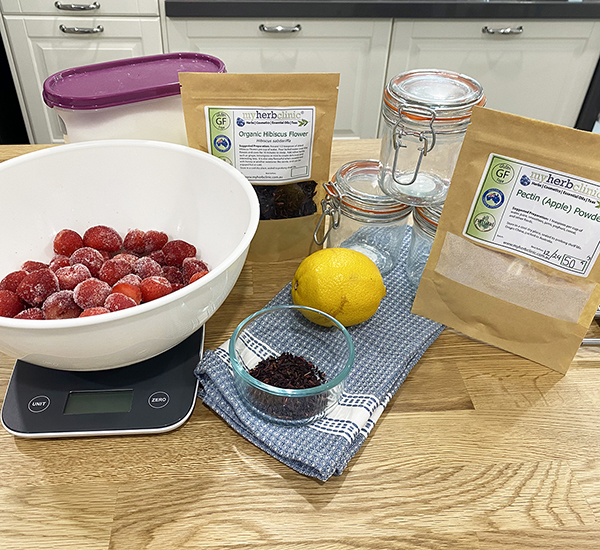
Lucky for me we have Apple Pectin Powder available, so I grabbed a bag of hibiscus flowers and a bag of Apple Powder, along with a 500g bag of frozen strawberries, a lemon and some white sugar. I had everything I needed and I crossed my fingers that my estimated quantities would work.
The first step is to let the Strawberries defrost, and make sure you keep any liquid that results from the defrosting process with the strawberries. You can use fresh strawberries, but accessing frozen organic Strawberries was easier than fresh organic, and it worked out cheaper too! Bonus!
Just pop them straight into the pot you will be using on the stovetop - go for a heavy enamelled pot or a stainless steel pot.
While the strawberries are defrosting, you need to steep the Hibiscus tea. Let it steep for 10 minutes before straining the petals out. You can then pour the hibiscus tea over the strawberries, which will help it defrost faster.
*Note: also at this point I popped a metal spoon in the freezer to test if the jam was going to gel later on
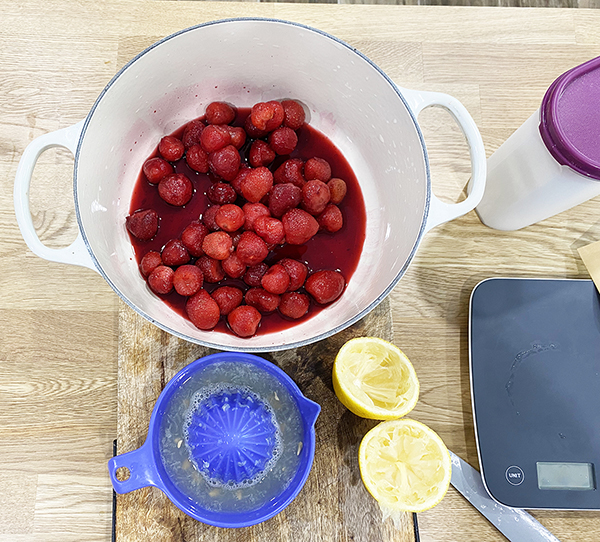
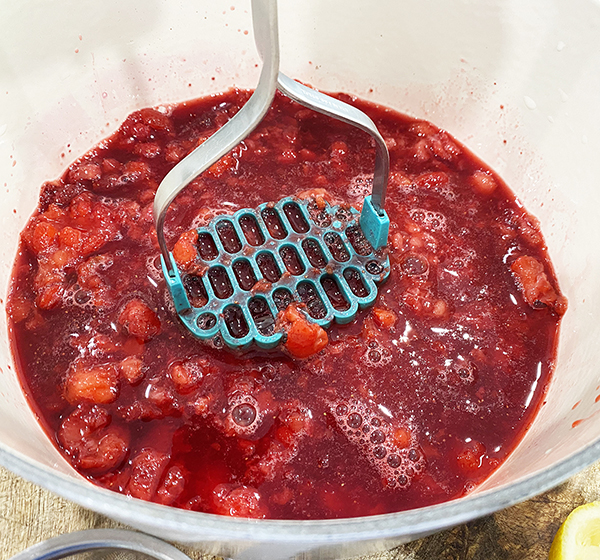
Now you need to mash up the defrosted strawberries until it reaches the desired chunkiness. Juice your lemon, you can also use bottled lemon juice if you prefer, just check the ingredients list if you want to avoid extra chemicals. The lemon helps act as a preservative (as does the sugar).
Pour your lemon juice over the strawberries. Then add your sugar and pectin.
Make sure to stir it all around before moving the pot to the stovetop.
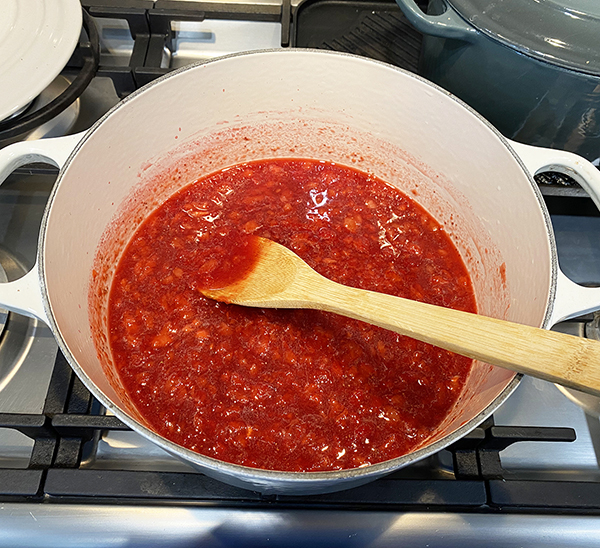
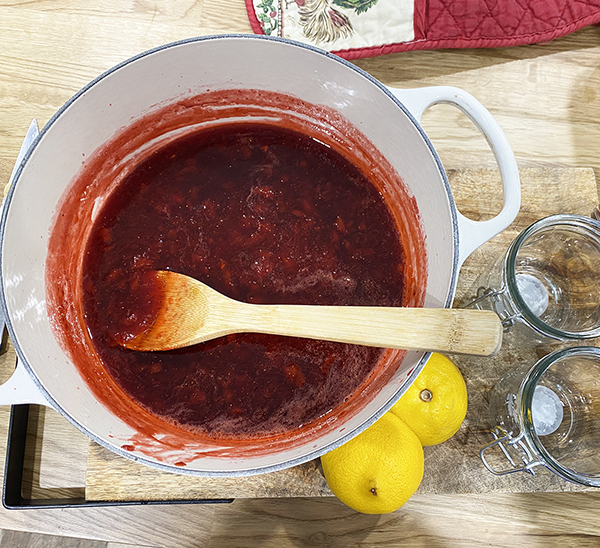
Now I set it on a low to medium heat and brought it to a rolling boil for 1 to 2 minutes. Just make sure you keep stirring continually as you do not want it to stick or burn!
I turned off the heat and dropped a blob of the jam onto the frozen metal spoon from the earlier note. This is a tip I came across from multiple people, as an easy way to test if your jam would gel up, without having to wait for it to set to find out if you had succeeded, or needed to tweak your recipe. If the jam starts to gel up once it hits the very cold spoon, you are all set to pop your jam into jars. If it stays liquid, then you may need to experiment with boiling it a bit more, and adding more sugar and/or pectin.
Lucky for me the ratios worked like a treat and it started to gel up on the spoon immediately! Time to pop the jam into some sterilised jars. It is important that your jars are clean because you do not want to introduce bacteria or other contaminants that will ruin your lovely jam.
*Note again: skim any foam that develops off the top of the jam
Be careful when you are pouring your jam into your jars. A wide mouth funnel can help, but remember that liquid is going to be very hot, thick and sticky!
After pouring I became distracted by my lovely jam, and the residue in the pot caked on like a second layer of enamel. Not to fear, a short soak with some hot water and it came right off.
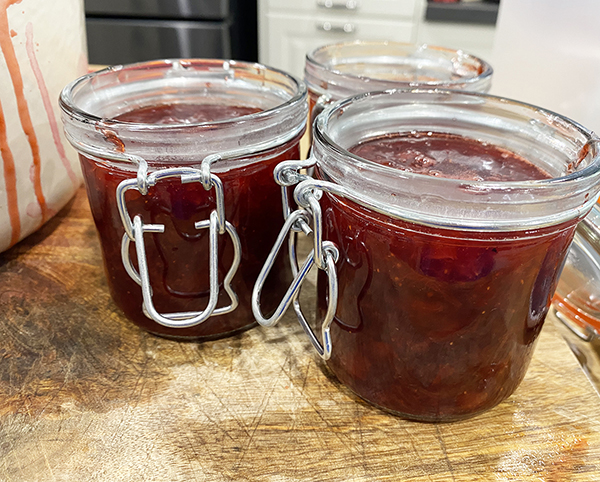
Now you can let it cool down a bit, then pop the lids on and put the jam in the fridge, and it will be good for at least 2 to 3 weeks.
If you are a pro at this stuff and know the next step to extend the shelf life of the jam, go ahead and 'process the jars' - apparently that is the terminology and has something to do with a hot water bath. I haven't gone on to this next step yet, as I know the jam is going to be finished off over the Easter weekend, which is only one week away. That is a skill to learn for another day!
So that everyone knew what was in the jar, and the date it was made, I popped together some cute labels to go on the jars.
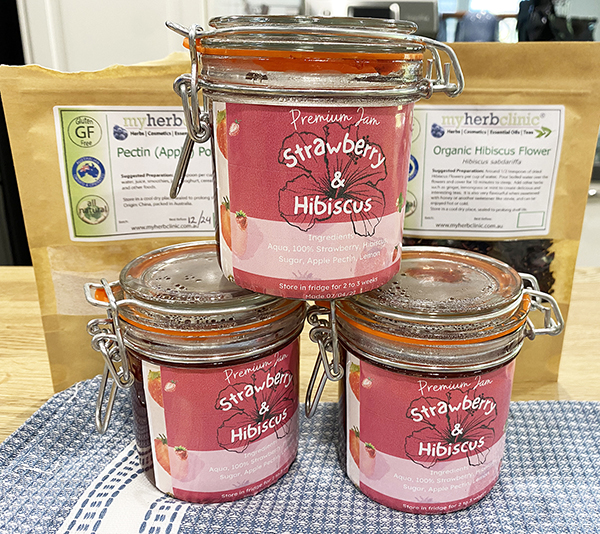
The labels are definitely not a required step! haha But I do recommend you keep track of when it was made if you are not going to have hoards of people fighting over it before the 2 to 3 weeks is up. You can write on the jars with special chalk board markers, stick a label on, or even a bit of masking tape will do the trick to write on.
Now of course you don't want to read through the story every time you want to find the ingredients and instructions, so I will pop that below for you.
You can also join our facebook group where we provide handy pdf copies of any recipes we create or share: https://www.facebook.com/groups/myherbclinic
Strawberry & Hibiscus Jam - with pectin
Ingredients:
1 x 500g bag frozen strawberries
1.5 cups white sugar
5g (Tbsp) hibiscus flowers
½ cup of boiled water
1 lemon juiced or ¼ cup of bottled lemon juice
1.5 Tbsp apple pectin powder
Instructions:
- Set strawberries aside to defrost (keep any liquid with strawberries)
- Steep hibiscus in boiled water for 10 mins
- Put strawberries in enamelled or stainless steel pot
- Pour strained hibiscus tea over strawberries, and mash with potato masher to break them up into desired consistency
- Add lemon juice, sugar and pectin and stir to mix
- Turn on low to medium heat and bring to rolling boil, stirring continually
- Allow to boil for 1-2 minutes while stirring.
- Take off the heat and drop some of the jam on the frozen spoon. If it is ready it will start to gel up straight away.
- Scoop off any foam that may have formed
- Pour jam carefully into sterilised jars, leaving a few cm at the top. Seal and pop in fridge to set.
Will keep in the fridge for 2 to 3 weeks.
Recent Posts
-

Calm Focus: Why Lion's Mane Mushroom and Ashwagandha Are the Wellness World's Favourite Duo
There's a particular kind of tiredness that has become the background hum of modern life: that "wire …5th Jun 2026 -

Blue Lotus Flower: What Is It, Benefits and How to Brew It
By My Herb Clinic | Natural Wellness | Gold Coast, Queensland If you have been curious about Blue Lo …30th Apr 2026 -

Calm Your Nervous System Naturally Herbal Teas, Adaptogens & Daily Rituals for a More Balanced Life
Modern life is faster, louder and more demanding than ever before. Constant notifications, busy sche …9th Apr 2026